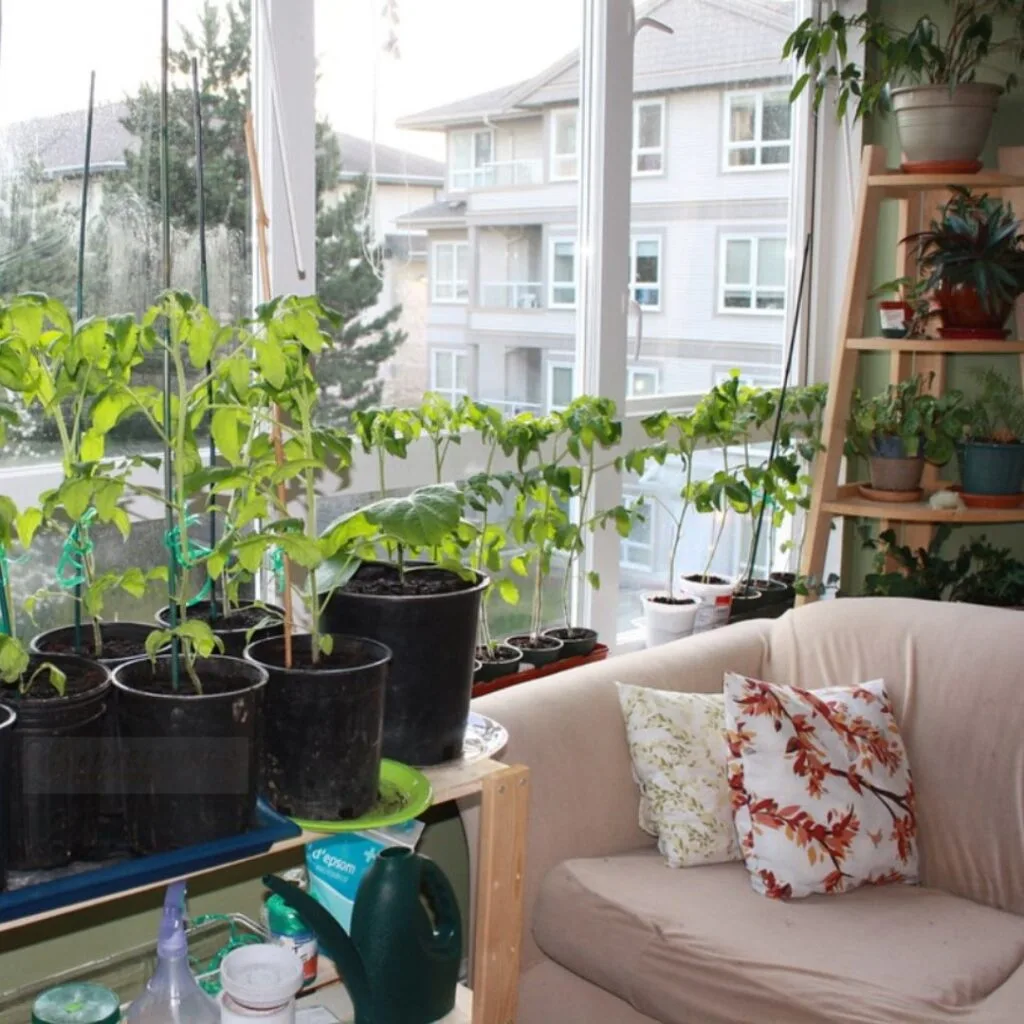
An easy method to always have fresh veggies on hand is to grow your own indoor vegetable plants. Spinach, green beans and onions are excellent indoor plants, especially when placed near sunny windows.
An indoor garden is an affordable, rewarding and long-term answer to the problem of growing food in an era of fluctuating food prices.
If you want your houseplants to grow strong and healthy, you need to use potting soil and pots with drainage holes. Adjust watering based on each plant’s needs to avoid overwatering or drying out.
Vegetable plants grown indoors are easy enough for a beginner to handle. Imagine gathering fresh greens or beans from your windowsill for quick meals or snacks.
Not only does this keep you from having to go grocery shopping, but it also brings a touch of nature into your house. Growing indoor plants is a cheap and easy way to have fresh food all year and make your home more lively.
Indoor Vegetable Plants: Tips for Successful Gardening

Scallions
Scallions are a great choice for your indoor vegetable garden. This adaptable green is ideal for those just starting in gardening because it is easy to cultivate and requires little patience.
Never throw away the white part of a scallions stalk; it has roots still attached. Save it for later. Carefully dip just the roots in a container of water before placing the ends in there.
Even when placed on the surface of a table, the greens will produce new leaves in a matter of days. The scallions will continue to grow if you move them to a container with damp potting mix when they are a few inches tall.
For optimal light levels, place them close to a sunny window. You can harvest them numerous times by cutting them at the root line. Perfect for apartments or even small balconies, these strong houseplants flourish in limited environments.
Indoor scallion gardening has many benefits, including a constant supply of fresh greens and an elegant improvement of your living space.

Lettuce
Anyone wishing to have access to fresh greens throughout the year can cultivate lettuce, one of the most straightforward indoor vegetable plants.
Choose loose-leaf or baby-leaf kinds because they grow quickly and do not require huge heads. Ensuring they have ample space to flourish, plant them in containers with good drainage and fill with damp indoor potting mix.
Sprinkle seeds gently and remove any extra plants as they grow. You can use the extras in your next salad. Make sure your houseplants receive at least five hours of sunlight every day by placing them near a south-facing window.
To keep plants from getting long when exposed to insufficient natural light, grow lights are a good option to explore. Avoid very hot temperatures for lettuce because it grows best in cool, bright environments.
Harvest by removing the outer leaves as required and use a spray bottle to keep the soil moist. A simple and satisfying method to always have fresh, homegrown lettuce on hand is to plant it inside.

Radishes
Radishes are an excellent addition to your indoor vegetable plants, providing speedy growth and variety in the kitchen. Edible leaves and bulbs make these a great addition to salads and snacks.
Place your radish container in a sunny window that receives 6-8 hours of light per day or use a grow light for 12 hours to ensure healthy growth. In order to avoid root rot, plant in a 6-inch-deep pot with soil that is both moist and drains well.
Once the seeds have sprouted, space the plants about one inch apart to help them grow well. Radishes can be harvested in as little as 30 days, however this can vary by variety.
Carefully shifting the soil around the base before removing the roots will allow you to measure their size. Try some freshly picked radishes with some butter and sea salt or fry them in some oil and salt.
Radishes are an excellent addition to any indoor plant collection because they are easy to grow and produce tasty results.
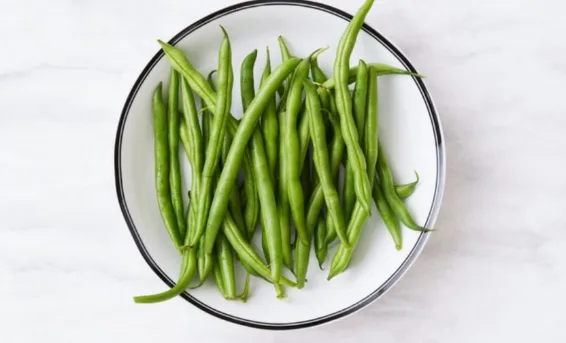
Green Beans
Growing green beans in your indoor vegetable garden is a great way to enjoy fresh beans with little work. Give your green beans at least six hours of sunshine every day or use a grow light, for the greatest results.
Because they are low-maintenance and self-pollinating, bush beans are great houseplants. Spread the seeds two inches apart in damp soil and place them in a big, well-drained container.
When the seeds start to grow, remove the weaker plants to help the stronger ones grow. Make sure the pot gets equal solar exposure and doesn’t lean by rotating it once a week.
As soon as green beans begin to bear fruit, harvest them frequently to keep the plant alive for longer. Many dishes benefit from using beans that have been cultivated recently.
You can also pickle them to enjoy as a tasty snack or to use as an ingredient in drinks. Not only can growing your own green beans enrich your gardening experience, but they will also provide you with colourful, fresh produce.
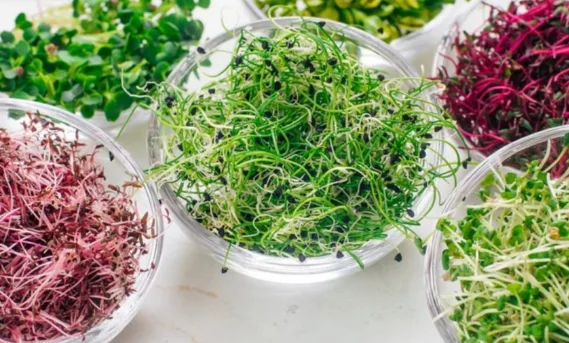
Sprouts
Sprouts are a great way to add more nutrition and flavour to your food without sacrificing time or nutrition when you produce your own indoor vegetable plants.
Proper hygiene is essential before beginning to cultivate sprouts; for this reason, you should only ever use seeds designed for growing.
Many popular kinds, such as lucerne and lentils, can be easily grown inside. After soaking the seeds in water for 12 hours, set them aside in a bright position, being careful not to expose them directly to sunlight.
Rinse and drain your sprouts 2-3 times per day to keep them fresh and boost development. Sprouts take only three to six days to mature into a harvestable crop.
You can start new batches regularly to have a continual supply because they develop swiftly. Salads, sandwiches and smoothies all benefit from the hardness that sprouts provide.
You may have homegrown greens all year round if you grow sprouts as an indoor vegetable plants. A simple and inexpensive method to add nutritious and tasty items to your meals.
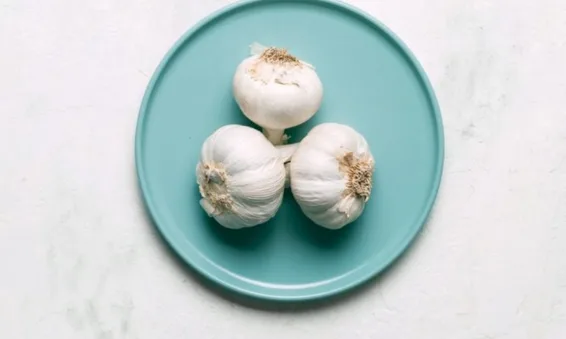
Garlic
Garlic is a multipurpose herb that may be easily grown indoors, providing a steady supply of fresh greens all year round. Gather some moist, well-draining potting soil and place each garlic clove in a 6-inch container.
Put the pot in a bright spot and you should see new shoots grow in about a week. You can clip these greens when they reach a certain height and they will continue to grow and provide you with a consistent supply.
Full garlic bulbs can be grown inside, but it is a more hard process. You will have to refrigerate the bulbs for a few weeks to make it seem like winter and then wait about 9 months for harvest time.
The flavourful, fast and easily prepped garlic greens are worth the wait; they go great in salads, soups and stir-fries. By putting garlic in your indoor plants, you bring fresh, homegrown items into your kitchen, enhancing the long-term sustainability and taste of your meals.
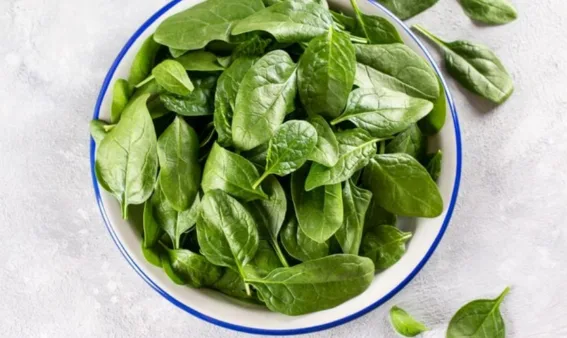
Spinach
Spinach is an excellent choice for indoor vegetable plants, particularly in colder climates. The first step is to start seeds in a 6-inch-deep, well-drained container.
Plant each seed half an inch deep and space them 3 inches apart. Always place the container in a sunny position that is 50–80 degrees Fahrenheit.
If seeds take a long time to sprout, using a heat mat can speed things up. Consistent watering keeps the soil moist, but too much water can cause mould, so be careful not to wet the leaves.
Baby spinach leaves can be gathered at any time by picking the outer leaves, but mature plants with 6 or more leaves produce a larger harvest.
Nutritionally dense and versatile, spinach is a great addition to many different kinds of food. You can eat it raw in salads, sauteed as a side dish or pureed into pesto, soups or stews.
Growing spinach indoors gives you fresh and healthy greens all year long, making your gardening easy and enjoyable.
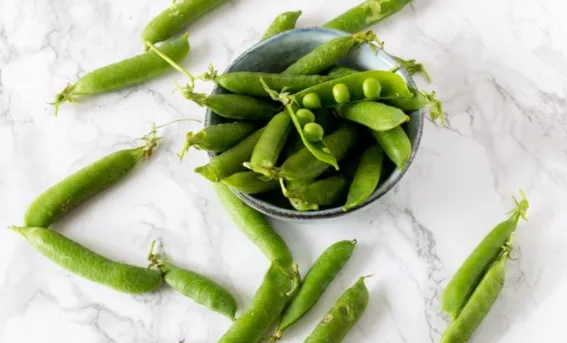
Peas
Peas are an excellent addition to your indoor vegetable plants. Pea shoots in salads and fresh pods for munching are just two examples of how these plants flexibly utilise little space.
Plant pea seeds half an inch deep in moist potting soil in a well-drained container if you want to grow them indoors.
Put the pot somewhere bright and sunny with at least eight hours of sunshine per day or use grow lights if necessary. Watering on a regular basis will keep the soil moist but not soggy.
Pick pea shoots early for a fresh and soft taste or wait for the pods to grow fully. Enhance your indoor gardening experience and enjoy homegrown peas by adding them to your plant collection.
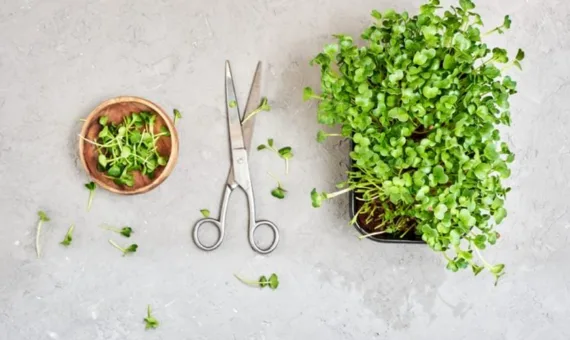
Microgreens
You may add microgreens to your indoor vegetable plants collection for a constant supply of healthy, freshly grown greens, no matter the season.
Little plants with big flavour profiles, like broccoli and kale, are simple to cultivate in your own garden. Plant seeds in small containers filled with organic potting soil.
First, soak the seeds overnight. Then, evenly distribute them over damp soil and lightly cover them. Keep the soil moist by misting it regularly.
Put the tray somewhere bright and sunny or use grow lights if that won’t work. You can typically harvest microgreens within a week or two of planting because of how rapidly they grow.
Simply cut them close to the soil line and use them in salads, sandwiches or as a garnish. Cuttings from some kinds may even cause them to regenerate.
Growing microgreens indoors is an easy and satisfying way to bring fresh flavours to your dishes.
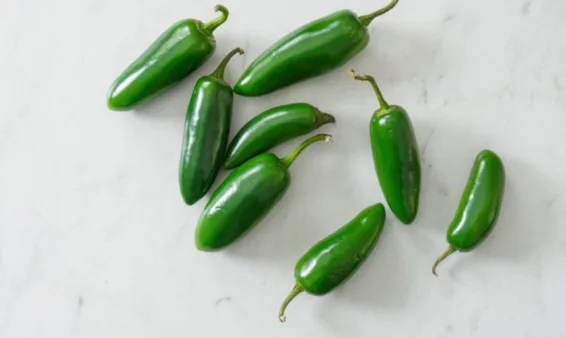
Hot Peppers
Spicy peppers, such as jalapenos, are great additions to a garden of houseplants because of the heat they impart to food.
On a daily basis, these fiery favourites require at least 6 hours of direct sunlight and a warm environment in order to flourish. A grow light or heat mat can be used to stimulate growth in areas with insufficient natural light.
Particularly in situations where there is a lack of room or natural light indoors, starting with indoor plants from a nursery can make the process go more smoothly.
To make growing peppers a bit easier, choose kinds that are smaller. Allow the plants plenty of room to grow by moving them to pots that are 10 to 12 inches in size.
Overwatering can cause roots to become wet, so be careful not to water too much. However, watering regularly is vital. It can take a few months before you can harvest your peppers, so be patient.
Hot peppers, when added to an indoor plants arrangement, guarantee year-round fresh, spicy produce.
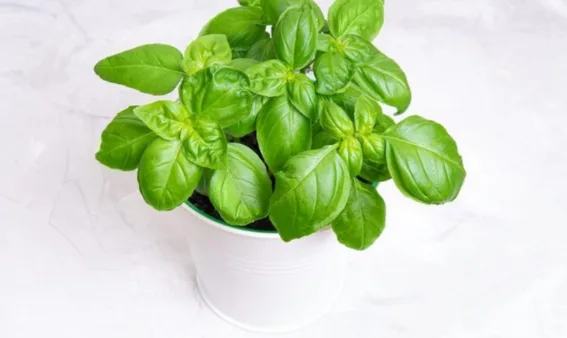
Basil
Basil makes an excellent choice for indoor vegetable plants, especially if you have a sunny south or east facing window. In places where natural light is scarce, a grow lamp may be the answer.
A variety of basil, such as sweet basil or Genovese, can enhance the flavour of certain foods. First, fill a container with damp potting mix and spread basil seeds equally on the surface.
Be careful not to disturb the roots when you sprinkle a little dirt over the seeds and lightly wet the surface. If you want your basil to become fuller, then you should prune it when it starts to grow leaves.
Follow this easy care regimen and you will get fragrant, freshly picked basil that is just right for the kitchen. Adding basil into your indoor plant collection not only enhances the look of it but also generates a great deal of fresh herbs without leaving your house.
Whether you’re making pesto or adding flavour to pasta, using basil from your own garden is always a great choice.
Chives
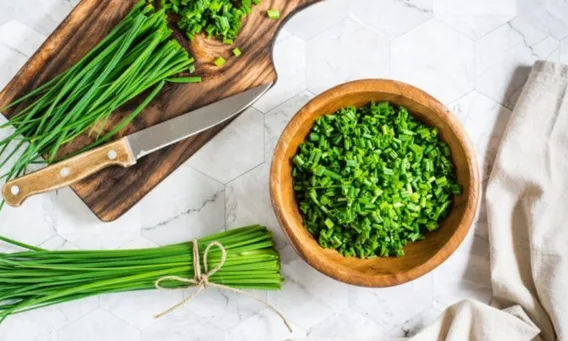
Adding chives into your indoor vegetable garden is a great way to enjoy fresh, fresh herbs all year round. First things first when growing chives indoors, move them from their growth pot to a bigger pot and fill them with moist potting mix.
Prepare a little hole in the dirt to hold the root ball; it should rest around half an inch below the hole’s edge. To grow chives from seed, you will need a 6-inch pot with well-drained soil and moistened potting mix.
Spread the seeds evenly on the ground and cover them with a thin layer of wet soil. Make sure the container receives at least 6 to eight hours of sunlight daily. Remember not to water the soil too much, but to keep it regularly moist.
Chives grow well as indoor plants and can be picked often to add a fresh, gentle onion taste to your dishes. Properly cared for, they will start blooming in two weeks, providing an endless supply of tasty herbs.
Frequently Asked Questions (FAQs) and Answers
What are the easiest indoor vegetable plants to grow?
Scallions, lettuce and radishes are some of the easiest indoor vegetable plants to grow. They require minimal care, grow quickly and thrive in small spaces with proper lighting.
Can I grow vegetables indoors without a garden?
Yes! With containers, indoor potting mix and proper lighting, you can grow a variety of vegetables like spinach, green beans and basil on windowsills or with grow lights.
How much sunlight do indoor vegetable plants need?
Most indoor vegetable plants need 6–8 hours of sunlight or grow-light exposure. Indoor plants like lettuce and spinach can thrive with slightly less sunlight.
Which indoor vegetable plants grow the fastest?
Sprouts and microgreens grow the fastest, often ready for harvest within 3–7 days. Radishes are also quick growers, maturing in about a month.
Can I grow lettuce indoors year-round?
Absolutely! Loose-leaf or baby-leaf varieties of lettuce are ideal for indoor growing. Place them near a bright window and avoid extreme heat for the best results.
How do I regrow scallions at home?
Save the white ends of scallions with roots intact. Place them in water with just the roots submerged and they will regrow. Transfer them to soil for longer-lasting growth.
What is the best soil for indoor vegetable plants?
Use indoor potting mix with good drainage. Avoid garden soil as it may not drain properly and could introduce pests.
Can I grow garlic indoors?
You can grow garlic greens indoors easily by planting individual cloves in a container with moist potting mix. Garlic bulbs require more time and planning.
What vegetables grow well with grow lights?
Vegetables like spinach, peas and green beans grow well under grow lights. This setup is particularly useful during winter or in low-light homes.
How do I harvest microgreens indoors?
Use scissors to cut microgreens just above the soil line when they are 1–3 inches tall. Some varieties regrow, allowing for multiple harvests.
Can I grow hot peppers inside my home?
Yes! Hot peppers like jalapeños thrive indoors with ample sunlight or grow lights. Use well-drained soil and ensure they have consistent warmth for optimal growth.
What is the best temperature to grow vegetables indoors?
Most vegetables thrive between 50°F and 80°F indoors. Use a heat mat for germination if temperatures are too low.
How do indoor plants grow?
Indoor plants grow with the right combination of light, water, nutrients and temperature. Proper care, like using potting mix and drainage, ensures healthy growth.
What is good for indoor plants?
Bright, indirect sunlight, well-draining soil, regular watering and occasional feeding with organic fertilizer are ideal for indoor plants.
How to support indoor plants?
Use stakes, trellises or plant supports for climbing vegetables like peas and beans. Rotate pots regularly for even growth.
How do plants take in water?
Plants absorb water through their roots, which transport it to stems and leaves for photosynthesis and hydration.
Do plants need support?
Yes, climbing and tall plants often need support to stay upright and grow properly. Supports prevent damage and improve yields.

Thank you for your sharing. I am worried that I lack creative ideas. It is your article that makes me full of hope. Thank you. But, I have a question, can you help me?
I don’t think the title of your article matches the content lol. Just kidding, mainly because I had some doubts after reading the article.
Your point of view caught my eye and was very interesting. Thanks. I have a question for you.
Thanks for sharing. I read many of your blog posts, cool, your blog is very good.
Thank you for your sharing. I am worried that I lack creative ideas. It is your article that makes me full of hope. Thank you. But, I have a question, can you help me?
Your point of view caught my eye and was very interesting. Thanks. I have a question for you.
Thank you for your sharing. I am worried that I lack creative ideas. It is your article that makes me full of hope. Thank you. But, I have a question, can you help me?
Your article helped me a lot, is there any more related content? Thanks!
Thanks for sharing. I read many of your blog posts, cool, your blog is very good.