If you’re blending smoothies or soups regularly, your blender cleaning tips might need more than just a quick rinse. Moreover, Leanne Stapf, Chief Operating Officer of The Cleaning Authority, suggests giving it a thorough cleaning every few weeks to prevent food buildup and bacteria growth, which can help it last longer.
Additionally, since many of us have probably tossed our user manuals, we’ve put together an easy-to-follow guide with step-by-step instructions to keep your blender in top shape, along with some helpful deep cleaning tips.
Easy Cleaning Steps and Storage
Cleaning your blender can be a breeze, especially if it has a self-cleaning feature. However, if it doesn’t, here’s a simple guide.
Step 1: Take Apart Your Blender:
Start by unplugging your blender and taking off the jar from its base. But if there’s anything left inside, pour it out and set the lid aside.
Step 2: Wash the Blender Jar
Next, use warm, soapy water and a sponge to clean the jar. Then, if the blade is fixed, be careful not to scrub it directly. Rinse the jar under warm water; while it’s safe for the dishwasher, hand-washing can prevent glass or plastic from getting damaged.
Step 3: Clean the Small Blender Parts
If the blade can be removed, soak the gasket seal, cutting blade, and jar base in warm, soapy water. Watch out for the sharp edges of the blade. Rinse and dry the parts thoroughly after cleaning.
Step 4: Freshen Up Your Blender Base
Afterward, don’t forget to unplug the blender first. Avoid putting it in water or the dishwasher. Simply wipe the base with a warm, damp cloth. Check the cord for any damage periodically.
Step 5: Put Your Blender Back Together for Easy Storage
Finally, make sure all the parts are completely dry before reassembling them. For those who use their blender often, store it in an easily accessible spot.
Keep Your Blender Clean with These Tips
To keep your blender cleaning tips, take apart the lid and clean each piece separately. Moreover, to remove stains, blend equal parts baking soda and water, then let it sit before washing. For those stubborn stains or odors, blend vinegar and water, or use a paste of baking soda and water. Additionally, use a brush to reach difficult spots.
Also, regularly check your blender for any buildup or residue around the buttons and crevices. Wipe these areas with a damp cloth to prevent dirt from building up over time.
Furthermore, consider using a cleaning solution made specifically for kitchen appliances to ensure thorough sanitation. These solutions can effectively break down grease and food particles without harming the blender.
After each use, rinse the blender jar and lid with warm water to remove any leftover residue. This simple step can prevent stains and odors from developing, keeping your blender fresh for the next use.
Lastly, store your blender in a clean, dry place to prevent dust and moisture buildup. Cover it with a clean cloth or keep it in a designated cabinet to maintain its cleanliness.
Effective Cleaning Solutions for Your Blender
Make it a habit to clean your blender immediately after each use to prevent stubborn buildup. This quick cleaning routine can save you time and effort in the long run while keeping your blender in top condition.
Don’t forget to pay attention to the blender’s seals and gaskets, as they can trap food particles and bacteria if not cleaned properly. Use a small brush or cotton swab to reach these tight spaces and ensure thorough cleanliness.
Regularly check the blender’s blades for any signs of dullness or damage. Sharp blades are essential for efficient blending and can prevent food from getting stuck or unevenly blended.
Consider investing in a blender brush or cleaning tool designed specifically for blenders. These tools often have features like flexible bristles or angled designs to make cleaning easier and more effective.
Expert Tip: If you’re short on time for a deep clean, try this quick 30-second cleaning trick:
Rinse the blender jar, fill it halfway with warm water, add a drop of dish soap, blend with the lid on for a few seconds on low, then dump and rinse.
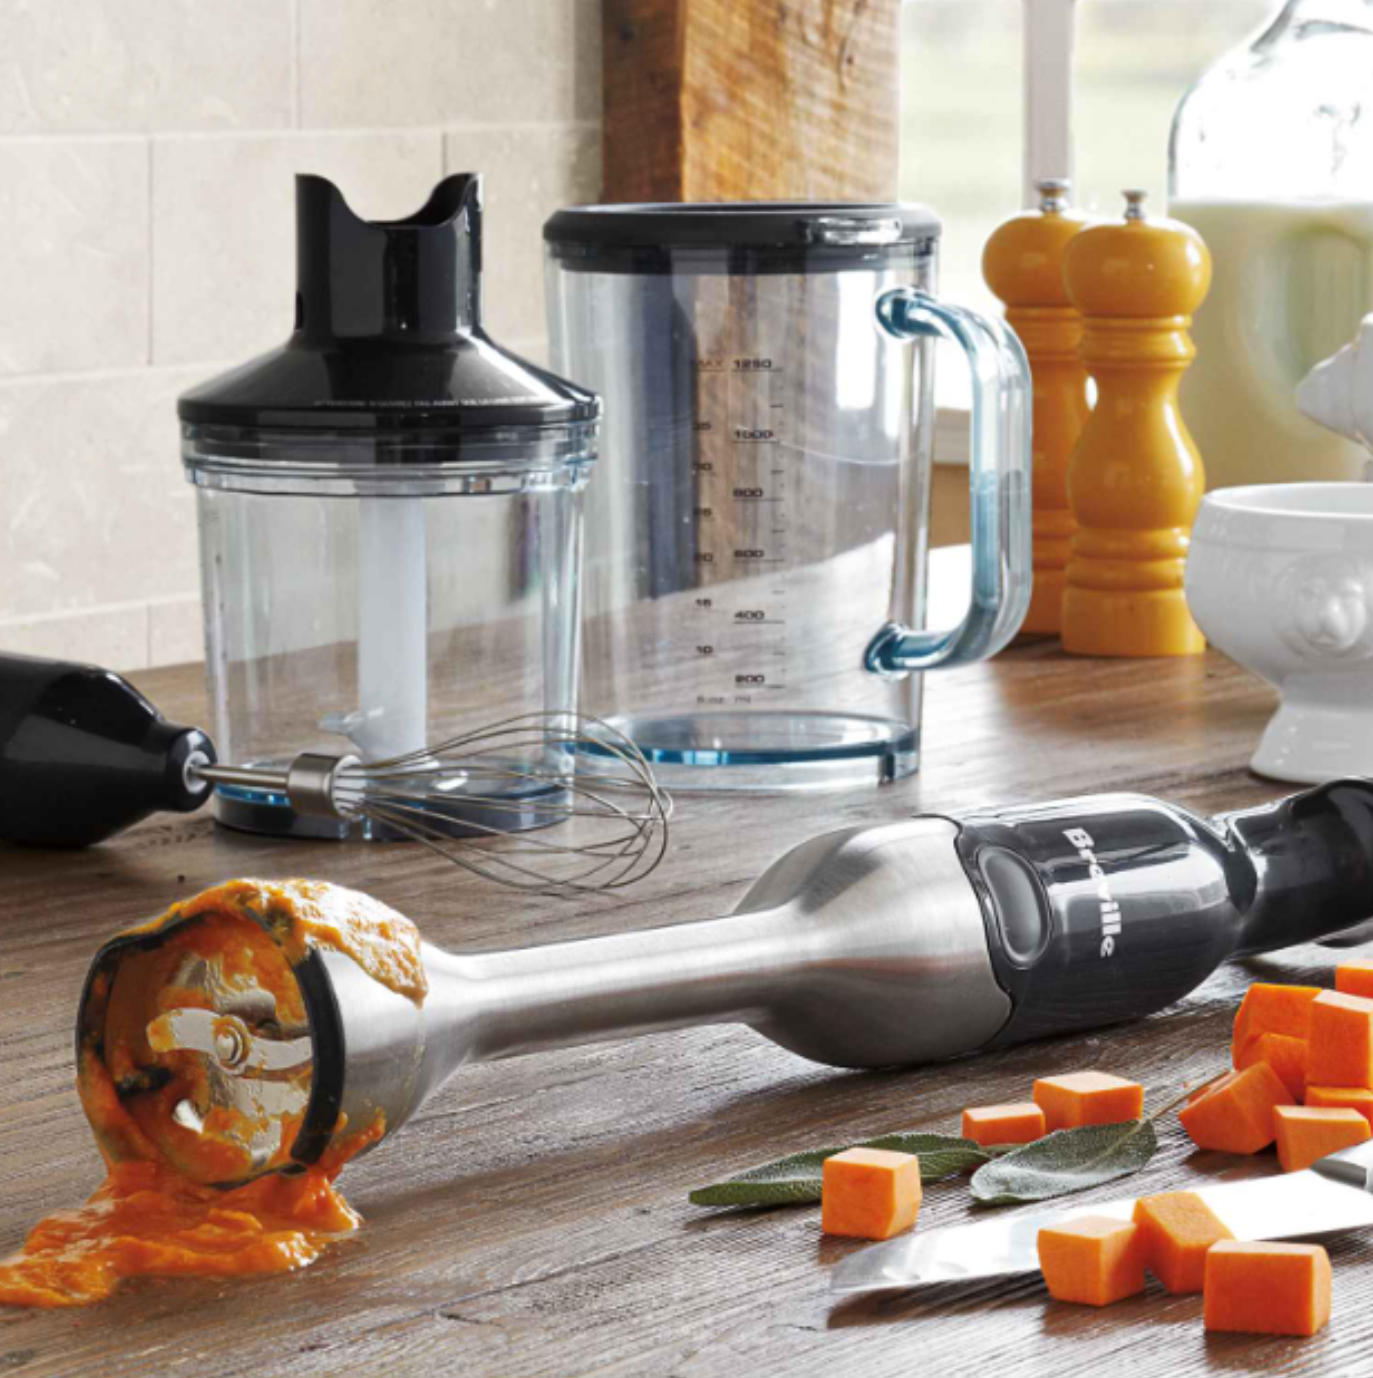
Cleaning Your Immersion Blender
Immersion blender cleaning tips are a chef’s best friend, making tasks like blending milkshakes and sauces a breeze. But cleaning them can be tricky. Here’s a quick and safe method to get it done.
Step 1: Prepare for Washing
After blending soup, smoothies, or purees, fill a tall glass three-quarters with warm, soapy water.
Step 2: Operate the Immersion Blender
Operate the blender in the water for 10 to 20 seconds. If it remains dirty, empty, refill, and repeat. Your immersion blender will be as good as new.
Step 3: Disconnect, Dry, and Store
After cleaning, disconnect your blender and let it air dry completely. Make sure all parts are dry before storing to prevent mildew.
Maintaining Your Immersion Blender Cleanliness
- Rinse Blender Blades Immediately for Easy Cleaning. Additionally, after rinsing your blender blades promptly to prevent food from drying and hardening, consider these additional tips to maintain a clean blender:
– Regularly check around the buttons and body of the blender for any food buildup.
– Also, use a soft brush to clean hard-to-reach areas and ensure thorough cleanliness.
– Moreover, avoid letting liquids sit in the blender for too long, as this can lead to stains and odors.
– Furthermore, for a quick refresh between deep cleans, blend a mixture of water and lemon juice to eliminate any lingering odors.
- If immediate rinsing isn’t possible, choose between dishwasher or soaking methods to clean your blender attachments, ensuring dishwasher safety for optimal results.
- We highly recommend avoiding the use of sponges to clean your immersion blender blades. Instead, sponges are too soft and may not effectively remove dirt. Instead, opt for a scrub brush to ensure thorough cleaning while keeping your fingers safe.
- Once a month, inspect the blender’s buttons and body for any food residue. Ensure the blender is unplugged and attachments are removed. Then, clean the crevices using a soapy cotton swab.
With these easy-to-follow steps and expert tips, keeping your blender clean and fresh has never been simpler. Incorporate these practices into your routine to ensure your blender stays in top condition, ready to whip up delicious smoothies, soups, and more whenever you need it.
Say goodbye to stubborn stains and odors and hello to a sparkling clean blender with minimal effort. Happy blending.
Thanks for sharing. I read many of your blog posts, cool, your blog is very good.